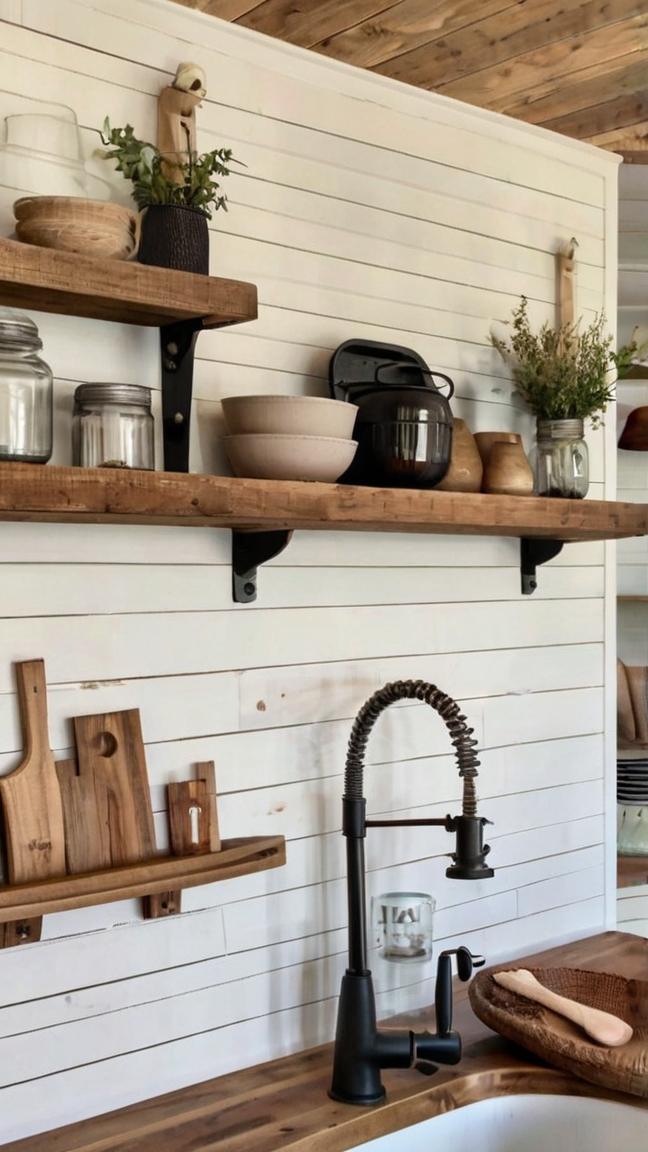
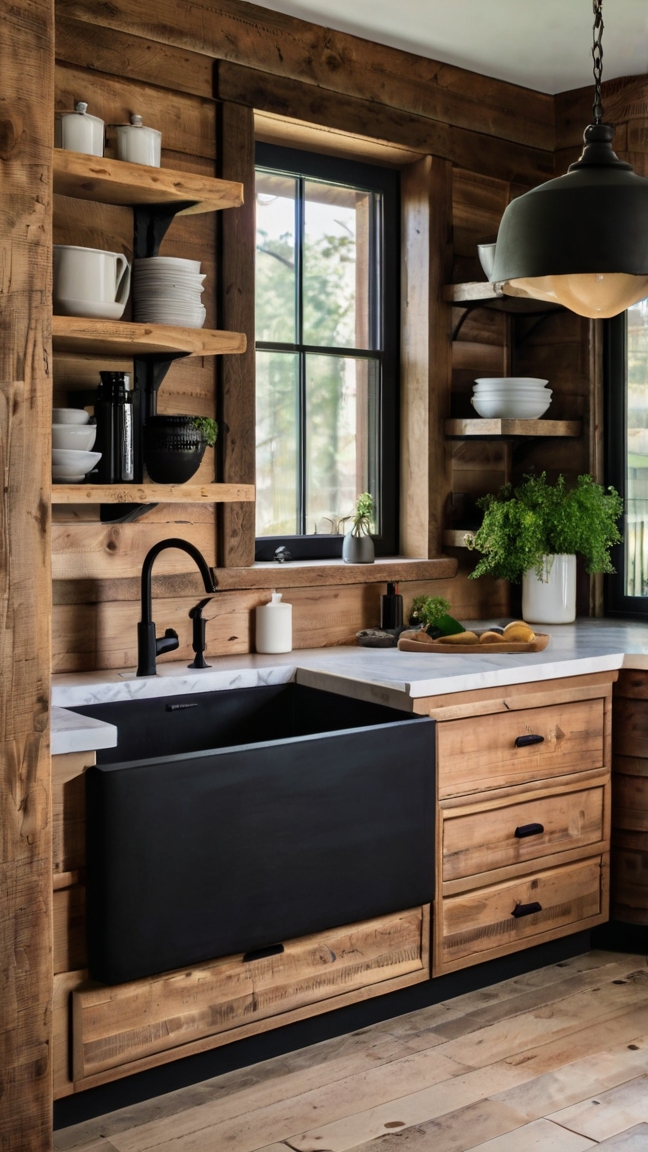
Are you ready to breathe new life into your kitchen? Look no further than the timeless charm of shiplap! This versatile material has taken the interior design world by storm, offering a perfect blend of rustic appeal and modern aesthetics.
In this comprehensive guide, we'll walk you through everything you need to know about incorporating shiplap into your kitchen, from planning to execution. Whether you're a seasoned DIYer or a first-time renovator, get ready to unlock the potential of your space with these stunning shiplap ideas.
1. Why Choose Shiplap for Your Kitchen?
- Versatility: Shiplap works with various design styles, from farmhouse to modern.
- Texture: It adds visual interest and depth to your walls.
- Durability: When properly installed and sealed, shiplap can withstand kitchen moisture and heat.
- Cost-effective: Compared to other wall treatments, shiplap is relatively affordable.
- DIY-friendly: With the right tools and guidance, it's a project many homeowners can tackle themselves.
2. Planning Your Shiplap Kitchen Project
- Budget: Determine how much you're willing to spend on materials and tools.
- Style: Decide whether you want horizontal, vertical, or even diagonal shiplap.
- Color: Choose between natural wood tones or painted finishes.
- Area: Decide if you want to cover all walls or create an accent wall.
- Material: Select between real wood or more affordable MDF options.
3. Essential Tools and Materials
Gather these items from before you begin:Amazon links:
- Level
- Paint or stain (if desired)
- Safety gear (goggles, gloves, dust mask)
4. Step-by-Step Installation Guide
Follow these steps for a successful shiplap installation:
a) Prepare the walls: Remove outlet covers and clean the surface thoroughly.
b) Locate and mark studs: Use a stud finder to mark where you'll secure the boards.
c) Start with a level line: Install the first board ensuring it's perfectly level.
d) Cut boards to size: Measure and cut boards to fit around outlets and corners.
e) Install subsequent boards: Use spacers to maintain consistent gaps between boards.
f) Finish the edges: Add trim or molding for a polished look.
g) Fill nail holes and sand: Prepare the surface for painting or staining.
h) Apply your chosen finish: Paint or stain the shiplap to your desired color.
5. Creative Shiplap Ideas for Your Kitchen
- Accent Wall: Create a focal point by applying shiplap to one wall, perhaps behind the stove or sink.
- Ceiling Feature: Install shiplap on the ceiling for an unexpected twist.
- Island Upgrade: Wrap your kitchen island in shiplap for added texture.
- Cabinet Backsplash: Use shiplap as a unique backsplash alternative.
- Two-Tone Design: Paint the lower half of your walls with shiplap for a modern look.
- Pantry Door: Transform a plain pantry door with a shiplap overlay.
- Open Shelving Backdrop: Install shiplap behind open shelves for a cohesive look.
6. Maintenance and Care
To keep your shiplap kitchen looking fresh:
- Clean regularly with a damp cloth to remove dust and spills.
- Touch up paint or sealant as needed to protect against moisture.
- Inspect for any loose boards and re-secure if necessary.
7. Frequently Asked Questions
Q: How much does it cost to install shiplap in a kitchen?
A: Costs vary, but expect to pay $500-$1500 for an average-sized kitchen, depending on materials and whether you DIY or hire a professional.
Q: Can shiplap be installed over existing tile?
A: While possible, it's not recommended. Remove the tile for best results and to avoid moisture issues.
Q: Is shiplap water-resistant?
A: With proper sealing, shiplap can resist moisture. However, in areas prone to splashes, consider using a water-resistant material or adding extra protection.
Q: How long does a shiplap installation typically take?
A: A DIY installation for an average kitchen can take 2-3 days, depending on your experience level and the complexity of the project.
Transforming your kitchen with shiplap is an exciting project that can dramatically enhance your space. With careful planning, the right tools, and a bit of creativity, you can achieve a stunning result that reflects your personal style.
Remember to take your time, measure twice, and don't be afraid to ask for help if needed. Your dream shiplap kitchen is within reach – so roll up your sleeves and get ready to make it a reality!


Comments
Post a Comment